As a result, I ended up with a healthy list of action items, but at the top of the list was solar power to keep the battery charged and the furnace running during cold nights in the mountains. Working both ends of the power problem, I decided to replace the wasteful interior lighting with more efficient LED lights.
After the second trip, I discovered some serious design flaws in the plumbing of the water tank and pressure pump. While traveling down a back road, I looked in the mirror and caught a glimpse of water trickling from the underside of the camper. Upon opening the camper, I discovered a small lake on the floor. A quick inspection brought to light that the water tank was not bolted down and the water pump was plumbed with hard lines. As the tank bounced up and down, it slowly unscrewed the pump fittings until water began leaking everywhere. In addition, the pump was a low-end model SureFlo on/off style pump with no pressure accumulator. The end result was a pump that cycles on and off very quickly at low flow rates, which is common for us since we try to conserve water while camping.
Starting with the easy upgrade, I ordered a pair of LED replacements for the interior dome lights from Amazon.com. My wife really appreciates the glow of an incandescent bulb, so I made sure to purchase LEDs with a color temp in the 2500-2700K range. Unfortunately the documentation in the owners manual was about as good as the design of the plumbing system. When I went to install the bulbs, I discovered that socket in the fixtures did not match what the manual stated it should be. Frustrated and not wanting to wait for new bulbs to show up, I permanently mounted and wired the new bulbs to the existing socket. This was done in a way that can be reversed later if I desire.

The color is spot on and with the covers installed, I doubt anyone would notice the difference in bulbs.

At the end of last season I had pulled the tank and old pump to winterize the camper. The new pump is a SureFlo Extreme series smart sensor. It utilizes an on-board pressure transducer and microcontroller to vary the speed of the pump to compensate for changing flow rates. The end result is a pump that is more quiet, smoother, and does not require a pressure accumulator to operate properly.

I installed the pump with Anderson Powerpole connectors to make for easy removal during the off-season. A new shutoff valve was installed and soft lines run to/from the pump to isolate vibrations and excess movement. A bracket was added (not shown) to hold the tank down and prevent shifting.

Last was the solar system. I was most excited about this since I have yet to finish my larger system at home. The solar for the camper was to be a budget system, so I sourced 2 panels from Craigslist that had been decommissioned from a roadside construction sign. The panels were dirty, but of good quality mono-crystalline construction and 110 watts each. I purchased a PWM 20amp 3-stage charge controller from Morningstar. This unit also had load control, which I may or may not use.

I decided to make the system modular and portable for two reasons. 1) Mounting the panels to the roof of the camper would not work very well for our situation because we tend to camp in the trees, which shade the camper. 2) I want to be able to use this system for other purposes, so portability would be a plus.
I wired each panel with its own Anderson connector and enough wire to reach out of the trees into direct sunlight. This allows me to use one or both panels depending on my power needs.


The charge controller was also wired with Anderson connectors and, for now, I used alligator clips to connect the battery, but I will install more connectors on the camper to ease hooking up the panels later.

System performance was excellent. The maximum amperage the panels can generate is about 13A. At 5:00pm I was still seeing 9 amps being delivered to the battery and at sundown, the panels were still producing enough power that the charge light was lite on the charge controller. 220 watts is far more power than I need right now, but I plan to add an additional battery to the camper later and that will allow me to run some additional loads while camping. If I ever run the battery down too far, the charge controller can recover a battery that has been discharged as low as 1V.
Post-trip update:
I had ordered LED replacement bulbs for the running lights prior to our latest trip. To my surprise, they showed up within 36hrs, so I quickly installed them before hitting the road.
Before:

After:


Not a large difference, but the light is more crisp and the LEDs will last a long long time, while withstanding vibration better.
The solar system worked excellent. I wish I could have gathered more data, but the weather was very mild and we did not consume much power during the night. As a result, the battery was topped off and charging in Float mode by 9am the first morning.
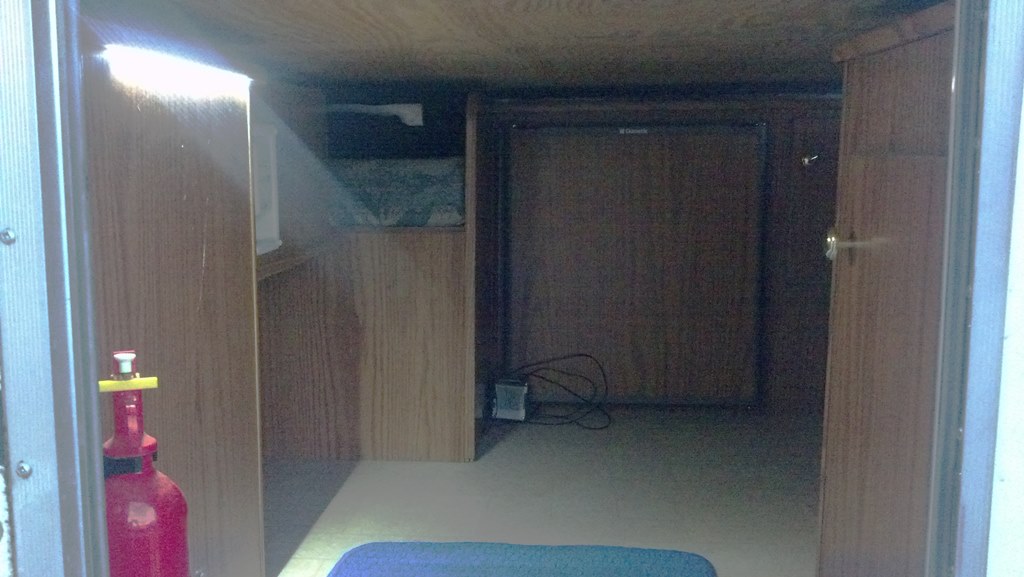
I did discover that finding my way in the camper after dark was difficult without turning on the dome lights and waking up my son. (He's 2yrs old). After returning home, I spotted some LED strip lights at Walmart that are normally used as accent lights on vehicles. They had a white set that could be cut to length for relatively little money. I mounted them under the edge of the cabinet adjacent to the walk way and wired it to full time power via a small toggle switch.


The end result works very nice. I can see what I'm doing without disturbing others in the camper and as a bonus, the lights allow me to see when I crawl in the camper while its in travel mode.

The last item of business was the fridge. While camping, the propane burner kept blowing out and I restarted it at least 18 times. Lucky for me, my friend suggested I check and possibly clean the burner when I get home. It turned out he was dead right. Although a little difficult to see, there is what was left of a spider in the burner tube disrupting the air flow. This was evidenced by the tinge of yellow in the flame.

A little poking with safety wire and flushing with brake cleaner and I had a functional burner again with a perfectly blue flame.

Not being familar with 3-way fridge performance, I fired up the fridge and monitored the interior temperature drop. With an ambient temp of 70°F, the fridge took about 3.5hrs to reach 35°F. Performance may be improved with interior and exterior fans to facilitate air movement, but that is a project for later.