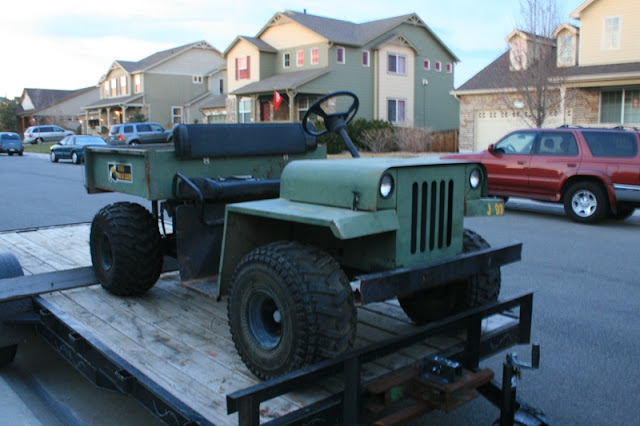
The J-93 was another project that originated with my father-in-law. As the story goes, the J-93 was discovered at a neighbor's house while my FIL was helping my brother-in-law. This poor thing apparently had a rough life and was missing the majority of its drivetrain. The neighbor's son had made an effort in install an old Honda ATV engine/transmission, but gave up and sold it to my FIL.
J-93s (4x2) and J-98s (4x4) were built by Kimball Products in Benton Harbor MI. There is not a lot of information on the web regarding these UTVs, but they appear to be related to Heald Haulers and look like a mini-Jeep, so there is an instant cool factor.
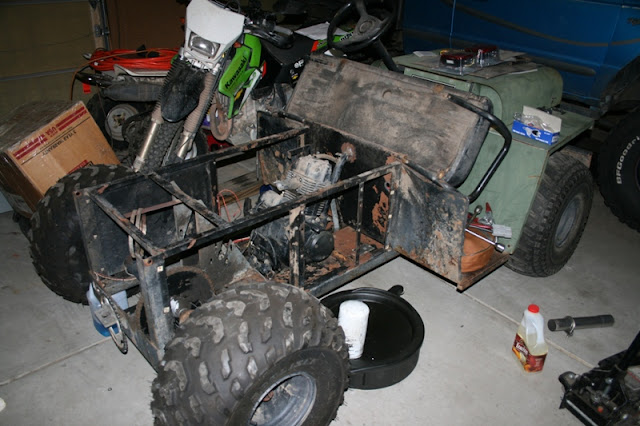
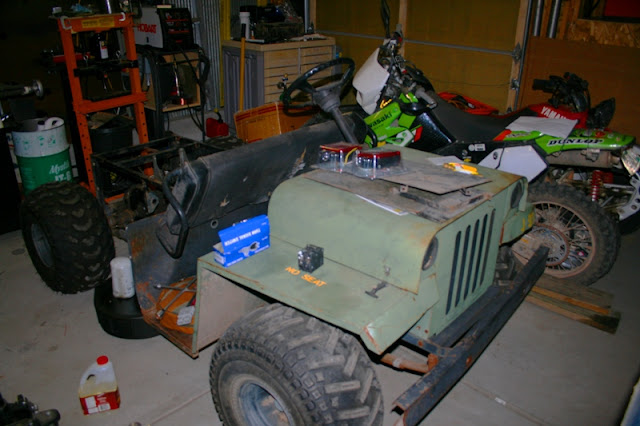
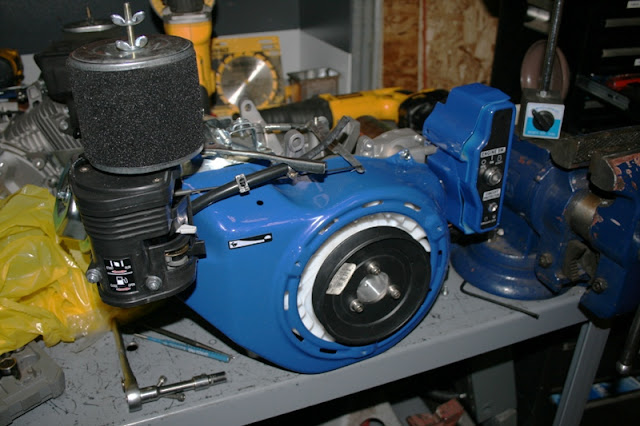
J-93s originally came with a 16HP Briggs & Stratton engine driving a CVT that fed a 3-speed+Reverse transmission and a chain final drive. This unit only had the chain drive and the axle remaining. Here is how it showed up at my place:
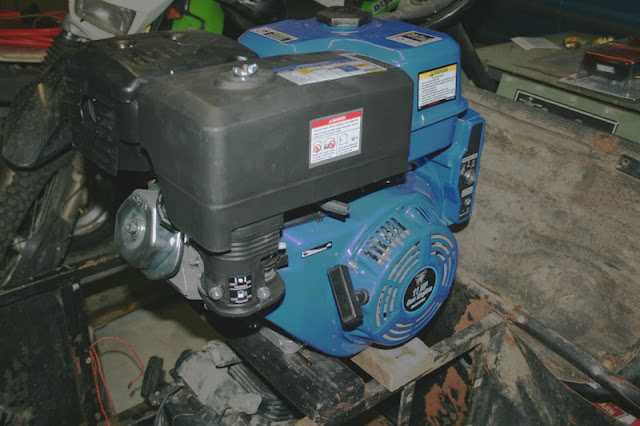
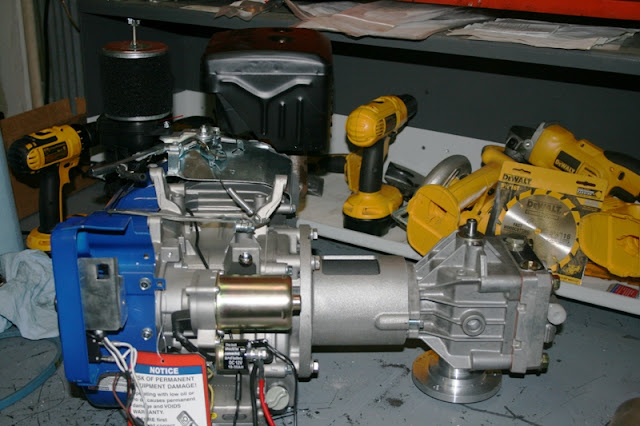
After looking at what I had to work with, I began formulating a plan. Option 1 was to find a transmission and fab up a CVT drive and the other missing components. Option 2 was an idea I came up with a couple of weeks after receiving the project. Given how this UTV was going to be used, I decided to try something new and build a hydrostatic drive. Surplus Center in Lincoln, NE is a great source for power transmission parts, so I began my search there. Adapting a hydrostatic drive to the J-93 would require some addtional fabbing and calculations, so a lot of layout work would be necessary. Snag #1: The engine and pump ended up being too long and would not package sideways, so I have to drop it in length-wise.
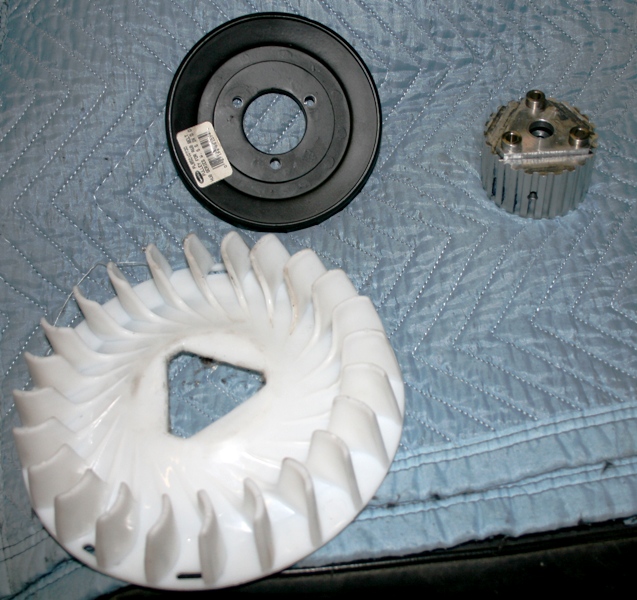
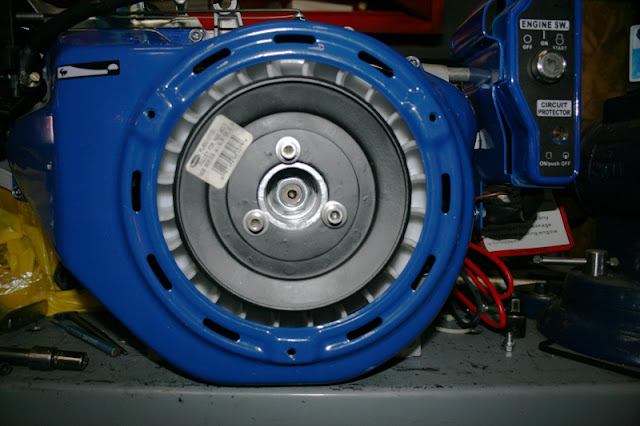
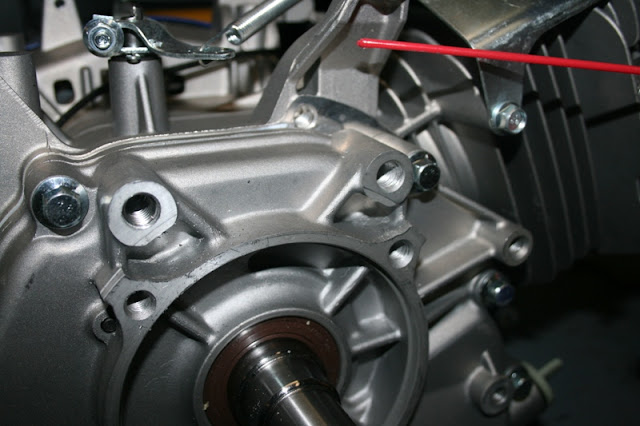
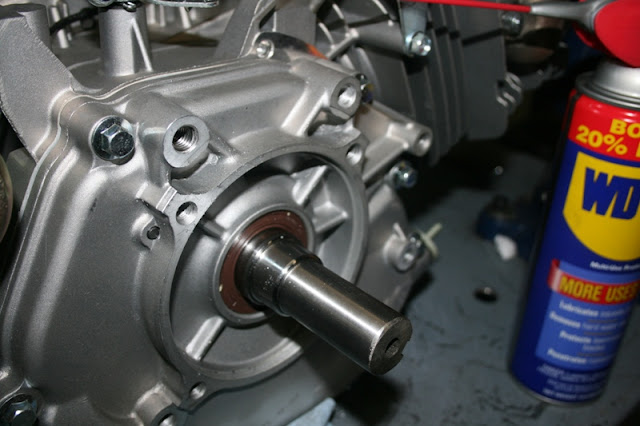
It wasn't long before I hit snag #2: The engine output shaft was too long and the mounting holes for the pump adapter were double threaded and completely worthless. Not insurmountable problems, but nuisances nonetheless. Then came snag #3: In my rush to get parts, I neglected to think through how I was going to mount the alternator for charging the battery and running the accessories. Originally it was going to be driven off the output shaft like everything else, but with the new pump mount, that option was out the window. Discouraged, I thought about it for a few days and came up with an idea.
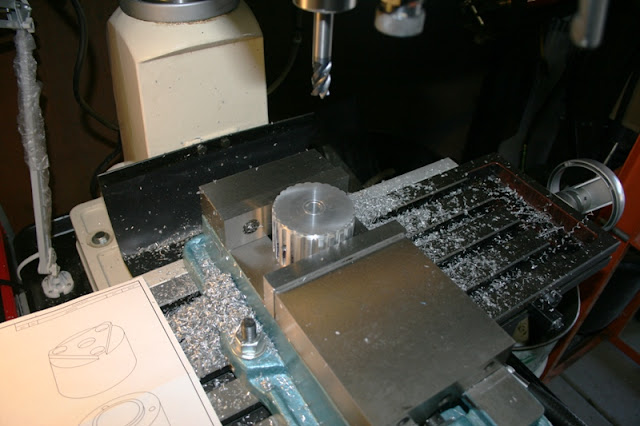
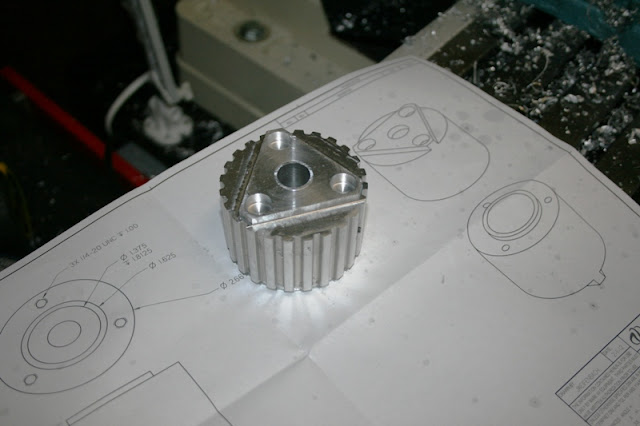
Start with an aluminum timing pulley I had laying around:
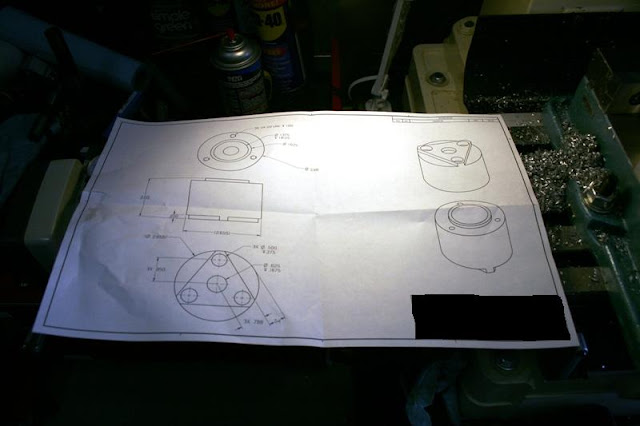
Do a little CAD work on my lunch break:
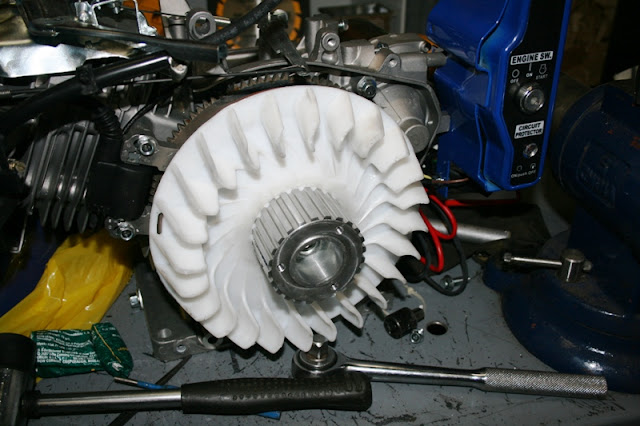
And you end up with a cool pulley adapter for the flywheel side of the engine:
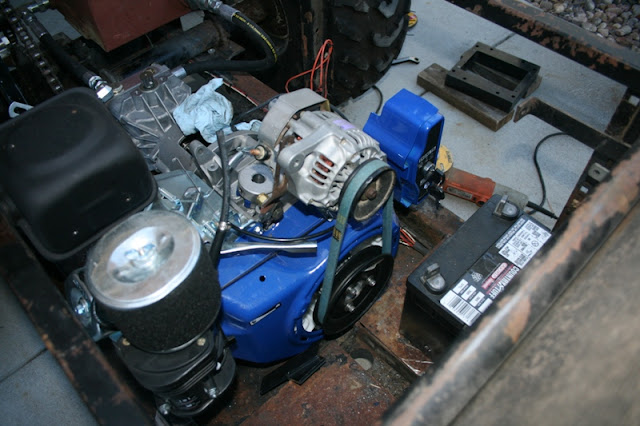
Getting the drive pulley mounted was a huge weight off my shoulders and I could get back to the regular work, including taking care of the Snag #2 issues and putting the engine and pump together along with mounting the alternator.
The solution to the screwed up mounting holes was to Helicoil them, which had the added benefit of placing steels threads where there had been aluminum threads.
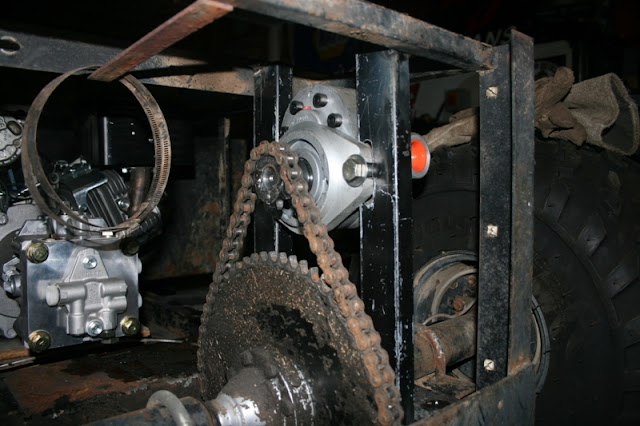
With the engine/pump combo finished I turned attention to the rest of the system. The motor was fairly easy to mount up, just needed to mount the sprockets square to each other.
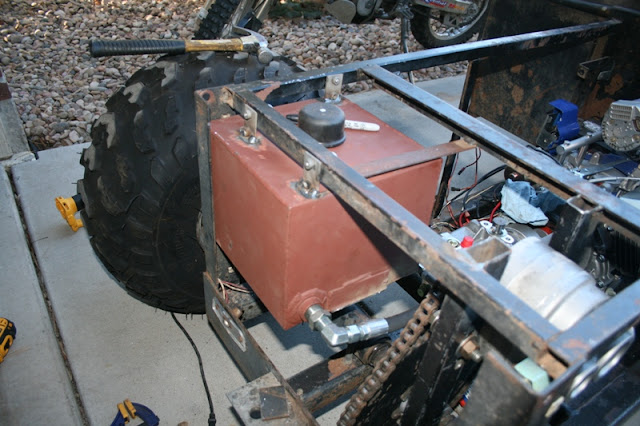
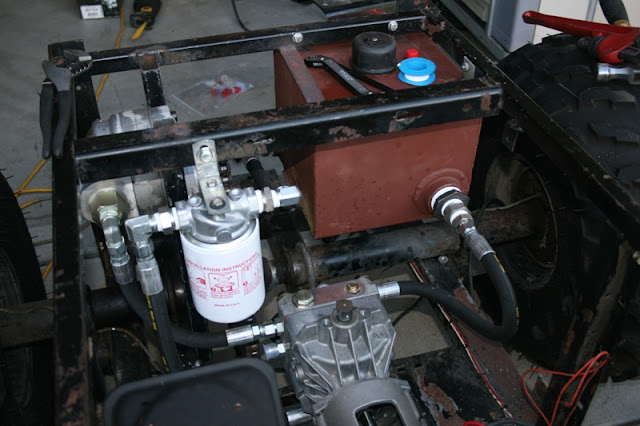
Mounting the hydraulic reservoir required some forethought of hose routing and ultimately the mounting tabs had to be cut off and new ones welded on the top. Every component needed to be flush or below the top of the frame to provide clearance for the dump bed. Not obvious, but the filler neck was shorten until the cap sat flat on the top of the tank.
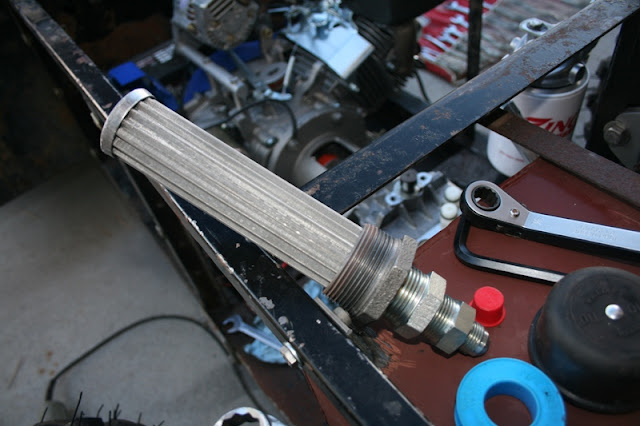
A strainer was used to keep major debris in the tank and protect the charge pump.
The minimum filtration requirement between the pump and motor was 25 micron, I was able to source a 20 micron filter and installed it in the return line. The hydrostatic pump circulates the majority of the fluid between the pump and motor. The charge pump keeps the primary loop "full", pushing in more fluid from the reservoir as fluid is lost to leakage and returned to the reservoir via the filter.
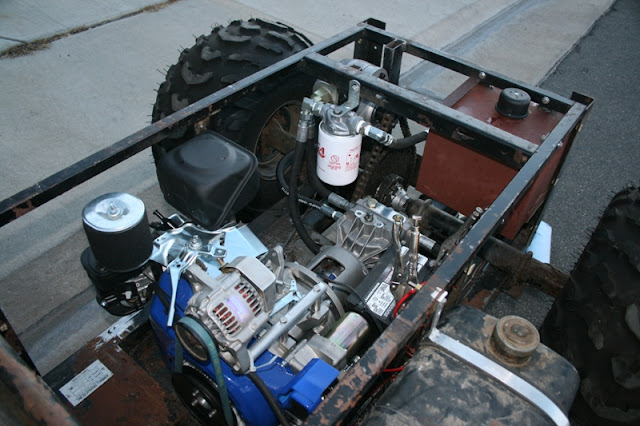
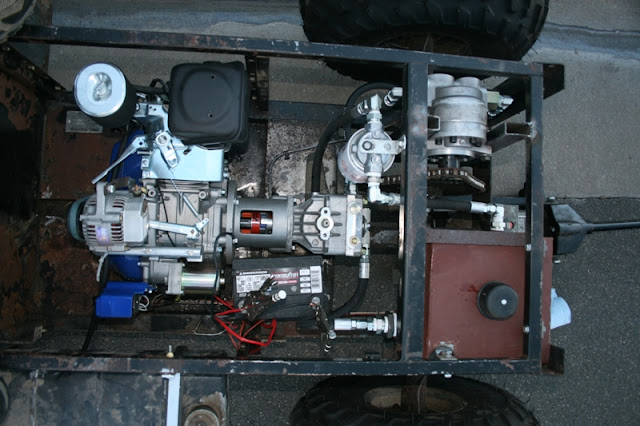
Here is the complete setup as I tested it. It stills needs a control linkage and wiring, but my father-in-law is going to take the project from this point.
Loaded up and headed to it's new home. It still needs new paint, a seat and a bumper. I hope to update this post when it is completely done.
A short clip of the first test run:
